There are all sorts of
attributes to consider when achieving the film look. Most amateurs think that it’s
all about the camera. And although certain cameras can play a role in achieving
the filmic look, it only plays a small role. Besides, the knowledge of how to
use a camera (any camera) will play a bigger role than the type of “lens box”
that is used.
But, I digress…
And, what is
atmosphere?
Atmosphere can be
defined as “the envelope of gases surrounding a planet” or it can be defined as
“the pervading tone or mood of a place, situation, or work of art”. For the
purposes of this post, I like both definitions.
You see, getting the
filmic look all comes down to adding a dimension of mood or tone, which (by one
of these definitions) qualifies it as atmosphere. This type of atmosphere, can
be achieved by lighting choices, or even color choices: props, sets, wardrobe,
etc.
However, when
developing this blog post, I was referring to adding dimensional atmosphere,
which can create the illusion of depth. Adding the illusion of depth to your
shots is one of the easiest ways to transform a shot from amateur to
professional.
Besides, lighting and
the composition of the frame, you can add depth to your shots by literally
adding atmosphere to them by way of haze.
If you look at most,
if not all, big budget studio productions you’ll see the effects of haze. It’s
how they get those awesome light streaks to come out of flashlights, or any
other light prop.
However, the effect
doesn’t have to be so overt for it to be beneficial. Because, a lot of times, the
filmmakers are actually trying to achieve something that’s virtually unnoticed
in nature.
Check it out!
Next time you’re
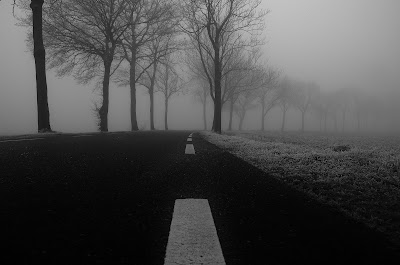
outdoors, look far out into the horizon and you’ll see something you’ve
probably never noticed before, haze.
So, when this dimensionality
tool is not present in your shot, it feels wrong, because something will seem
to be missing (even with a good lighting setup).
However, when shooting
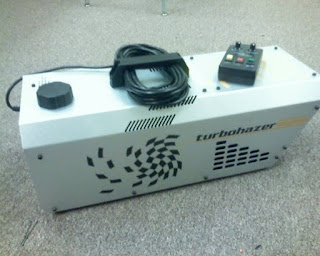
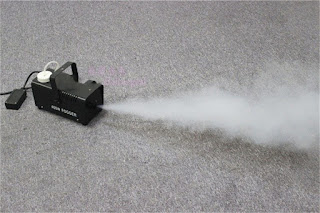
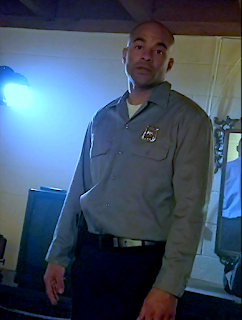
BloodGuilt, a haze machine was way out of my budget range. So, I opted for a
fog machine instead; which can actually get the same effect as a hazer, albeit
with a little more effort.
Meaning, the fog
itself is a lot thicker than haze, but you can diffuse it with a fan, or you
can wait for it to dissipate into the desired density.
I learned this the
long way while filming BloodGuilt. I wasn’t liking the thickness of the fog,
and was actually going to scrap the entire idea altogether. But, when I waited
for it to clear, it eventually thinned into the look I was going for. From then
on, I made sure to bring my small fan to each production shoot.
There are loads of
things to consider when trying to achieve the film look: lighting, color palettes,
set design, wardrobe, and even blocking – let me know if you’d like me to go
over any of these topics on future blog posts. However, when planning for you
next shoot, make sure you take some time to literally incorporate some
atmospheric haze – or fog if you’re on a strict budget like me when filming BloodGuilt.
[salute]





No comments:
Post a Comment